An €80 million loan (equal to about XOF 52. 5 billion) from IFC and other investors will enable Orange Mali to install 300 new 4G towers and expand its fiber network to reach an estimated 300,000 households and smaller businesses in Mali. Mali's government has reportedly contracted China International Telecommunication Construction Corporate to extend the country's national fibre-optic network. According to Agence Ecofin, the work will be carried out as part of a USD117. To expand access to quality and affordable connectivity and. Bamako, Mali, November 17, 2025 — To expand access to quality and affordable connectivity and digital financial services in Mali, especially in rural areas, IFC today announced a partnership with Orange Mali SA to support the company to upgrade its infrastructure, expand broadband coverage, and. The Malian government seeks to strengthen the national telecom infrastructure as part of its digital transformation ambitions. The aim is to gradually include the 65% of the population who, according to DataReportal data, still lack access to the Internet. With a total cost of 117. 3 million USD, the project was approved by the Council of Ministers on Wednesday January 3.
[PDF]

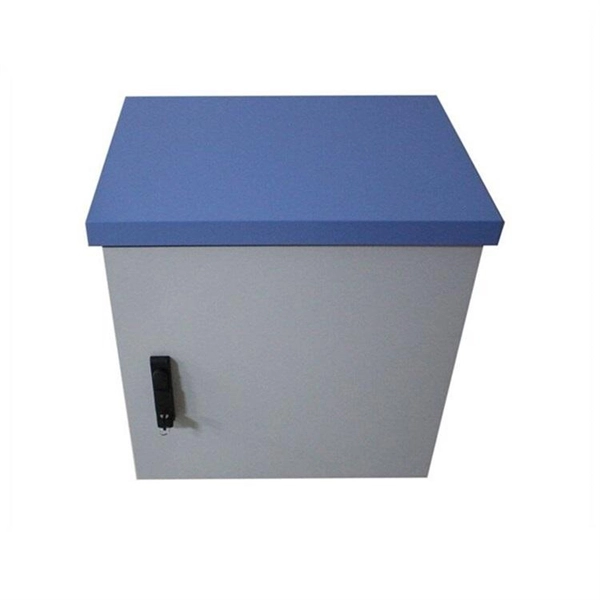
FTTH Networks: Wall-mount panels are used in apartment basements to distribute signals to individual units. Data Centers: High-density 4U panels are used for Top-of-Rack (ToR) switching. Broadcast & Media: Used for high-bandwidth 4K/8K video signal routing. This 2026 expert guide explains the functions, placement, structure, and application scenarios of ODFs and fiber patch panels-and includes a deep engineering FAQ that resolves real-world deployment challenges. Where Do ODF and Fiber Patch Panels Fit in a Modern Fiber Network? To understand the. Depending on different network construction scales and application environments, fiber optic cabinets and patch panels are typically used in various combinations. Choosing the right structural combination can significantly improve network construction efficiency. First is the standard. A Fiber Optic Patch Panel, also known as an Optical Distribution Frame (ODF) or fiber termination enclosure, is a centralized hardware unit designed to manage, protect, and organize fiber optic cable connections.
[PDF]

This standard has been prepared by the Technical Committee CTN 212 Telecommunication cables and optical fibre the Secretariat of which is held by FACEL. Este documento ha sido adquirido por a través de la suscripción a AENORmás Premium. Para uso en red interna se requiere de autorización previa de. The FOA Online Reference Guide on the FOA website is probably the largest and most used reference site on fiber optics on the Internet. For those who prefer printed. ITU-T handbooks provide information on topics in telecommunications such as operational aspects, network planning, quality of service, implementation guidelines, outside plant protection against electromagnetic effects, measurement methods, security and mobile systems. The Handbook is intended as a. Major International Standards Organizations for Fiber Optics Several international organizations develop and maintain standards for fiber optic products. These standards ensure interoperability across manufacturers, regions, and applications. This work materialized through the development of good practices, procedures and specifications documents, reflecting a certain state of the art at a given time, and the result of a consensus of all stakeholders (op lable.
[PDF]

Plug the control cable of Fan 1 to the Quick-Connect box. Use cable ties to mount the control wiring to the wall panel ensuring it is taut, secure, and supported. The white wire from the fixture is connected directly to the source neutral wire, either at the fixture box or through a splice at the switch box. In some household circuits, the white wire may also be. Ceiling fan installation is electrically simple (15A circuit, 14 AWG) but the critical requirement is a fan-rated electrical box per NEC 314. A standard light fixture box cannot support the weight and vibration of a ceiling fan. Route and fasten harness to the bulkhead wall after it has been plugged into the. Check each product page for other buying options. Price and other details may vary based on product size and color. Shop products from small business brands sold in Amazon's store. Learn more. A ceiling fan is a dynamic appliance requiring specialized support beyond what a standard junction box provides. Installation focuses on replacing the general-purpose box with a fan-rated version secured directly to the ceiling framework. New Work Fan Rated Electrical Ceiling Box with Captive Nails (B520A-CFB) Carlon 1-Gang 20 cu.
[PDF]
The first step to finding the right KVM switch is taking inventory of what you'll use it with: specifically, the number of computers, monitors, and additional peripherals, such as a keyboard and mouse. Yo.
[PDF]